Note
Go to the end to download the full example code. or to run this example in your browser via Binder
Multiple Slider Widgets#
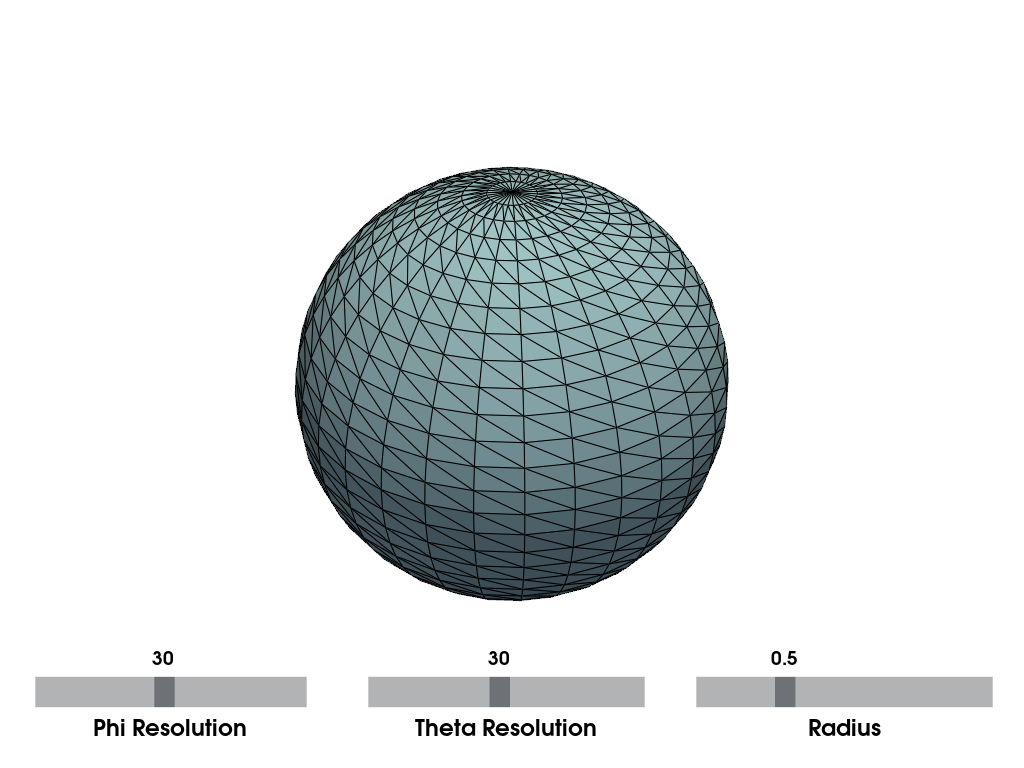
Use a class based callback to track multiple slider widgets for updating a single mesh.
In this example we simply change a few parameters for the
pyvista.Sphere() method, but this could easily be applied to any
mesh-generating/altering code.
import pyvista as pv


class MyCustomRoutine:
    def __init__(self, mesh) -> None:
        self.output = mesh  # Expected PyVista mesh type
        # default parameters
        self.kwargs = {
            "radius": 0.5,
            "theta_resolution": 30,
            "phi_resolution": 30,
        }

    def __call__(self, param, value):
        self.kwargs[param] = value
        self.update()

    def update(self) -> None:
        # This is where you call your simulation
        result = pv.Sphere(**self.kwargs)
        self.output.copy_from(result)
starting_mesh = pv.Sphere()
engine = MyCustomRoutine(starting_mesh)
pl = pv.Plotter()
pl.add_mesh(starting_mesh, show_edges=True)
pl.add_slider_widget(
    callback=lambda value: engine("phi_resolution", int(value)),
    rng=[3, 60],
    value=30,
    title="Phi Resolution",
    pointa=(0.025, 0.1),
    pointb=(0.31, 0.1),
    style="modern",
)
pl.add_slider_widget(
    callback=lambda value: engine("theta_resolution", int(value)),
    rng=[3, 60],
    value=30,
    title="Theta Resolution",
    pointa=(0.35, 0.1),
    pointb=(0.64, 0.1),
    style="modern",
)
pl.add_slider_widget(
    callback=lambda value: engine("radius", value),
    rng=[0.1, 1.5],
    value=0.5,
    title="Radius",
    pointa=(0.67, 0.1),
    pointb=(0.98, 0.1),
    style="modern",
)
pl.show()

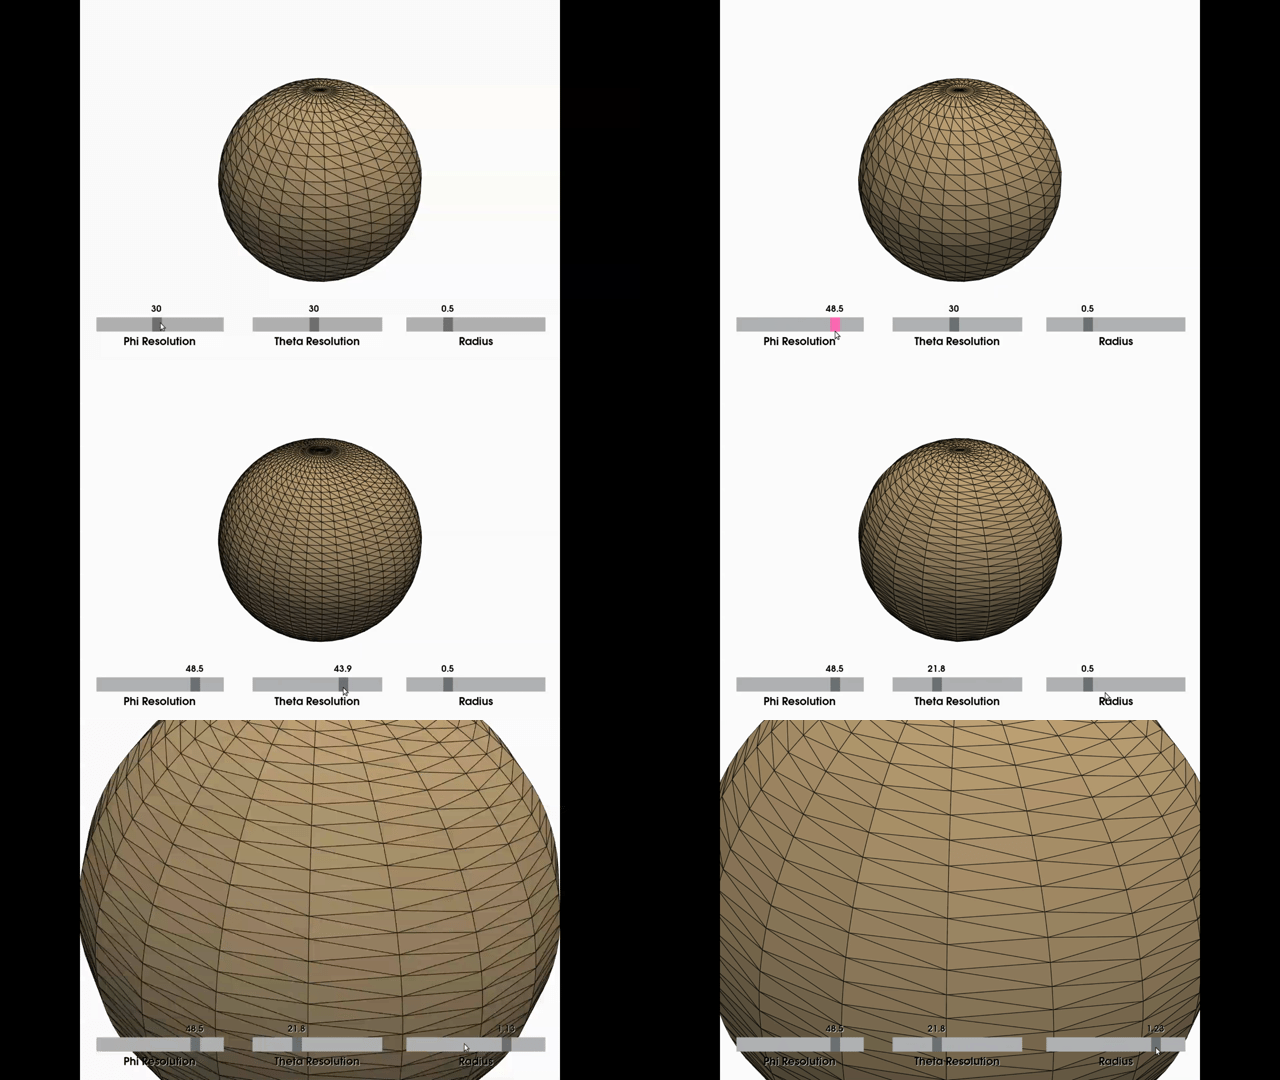
And here is a screen capture of a user interacting with this

Total running time of the script: (0 minutes 0.241 seconds)
