Note
Go to the end to download the full example code. or to run this example in your browser via Binder
Create Basic Geometric Objects#
This is the “Hello, world!” of PyVista.
import pyvista as pv
This runs through several of the available geometric objects available in VTK which PyVista provides simple convenience methods for generating.
Let’s run through creating a few geometric objects!
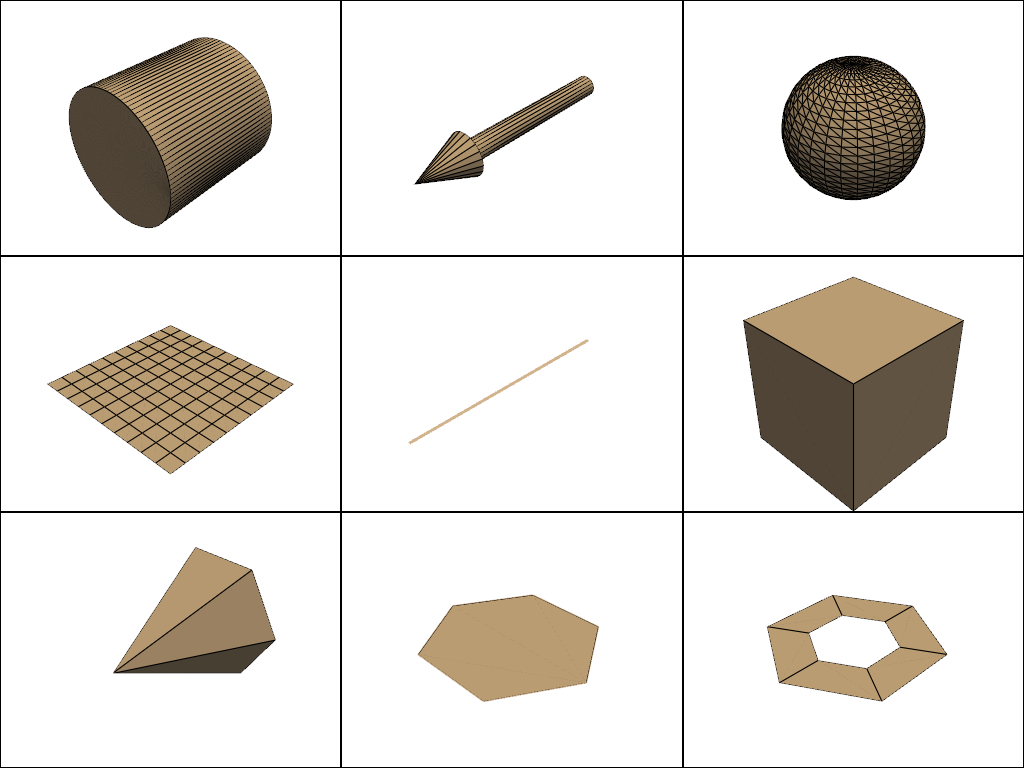
Now let’s plot them all in one window
pl = pv.Plotter(shape=(3, 3))
# Top row
pl.subplot(0, 0)
pl.add_mesh(cyl, color="tan", show_edges=True)
pl.subplot(0, 1)
pl.add_mesh(arrow, color="tan", show_edges=True)
pl.subplot(0, 2)
pl.add_mesh(sphere, color="tan", show_edges=True)
# Middle row
pl.subplot(1, 0)
pl.add_mesh(plane, color="tan", show_edges=True)
pl.subplot(1, 1)
pl.add_mesh(line, color="tan", line_width=3)
pl.subplot(1, 2)
pl.add_mesh(box, color="tan", show_edges=True)
# Bottom row
pl.subplot(2, 0)
pl.add_mesh(cone, color="tan", show_edges=True)
pl.subplot(2, 1)
pl.add_mesh(poly, color="tan", show_edges=True)
pl.subplot(2, 2)
pl.add_mesh(disc, color="tan", show_edges=True)
# Render all of them
pl.show()
# Export this plotter as an interactive scene to a HTML file.
# p.export_html("a_basic.html")

Total running time of the script: (0 minutes 0.968 seconds)
